
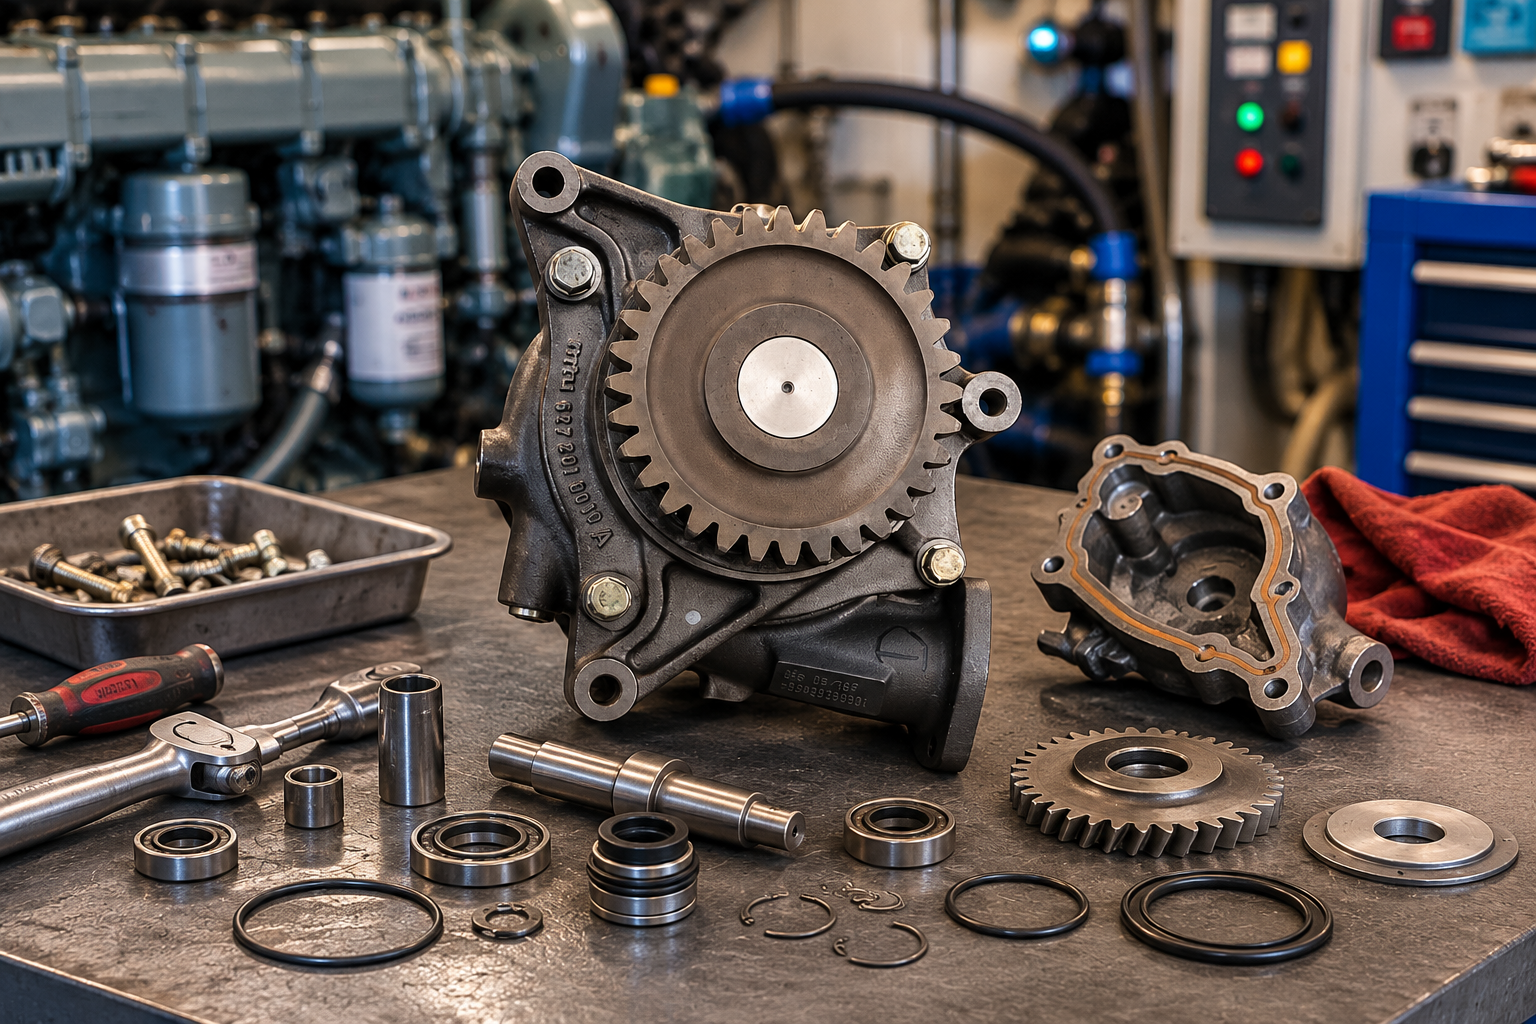
MTU 4000 Water Pump Dismantling Guide: What Every Marine Engineer Should Know
If you're working on an MTU 4000 marine engine, sooner or later you'll have to inspect or overhaul the water pump. Whether you're dealing with reduced cooling performance, coolant leaks, unusual bearing noise, or planning a scheduled overhaul, knowing how to dismantle the pump correctly can save hours of work and prevent expensive mistakes.
This guide explains the basic dismantling process used on many MTU 4000 series water pumps. It's written in plain English for marine engineers, technicians, vessel owners, and anyone interested in understanding how the pump comes apart before inspection or rebuilding.
Why Would You Dismantle an MTU 4000 Water Pump?
The water pump is responsible for circulating coolant through the engine. When it starts to wear, cooling efficiency drops and engine temperatures can increase quickly.
Common reasons for dismantling include:
- Coolant leaking from the drain hole
- Bearing noise
- Excessive shaft movement
- Worn impeller
- Damaged mechanical seal
- Scheduled overhaul
- Contamination inside the cooling system
Ignoring these symptoms can eventually lead to overheating and much more expensive engine repairs.
Before You Start
Preparation is just as important as the dismantling itself.
You'll normally need:
- Standard metric socket set
- Torque wrench
- Bearing puller
- Soft-faced hammer
- Circlip pliers
- Hydraulic or arbor press
- Clean workshop bench
- Assembly grease
- Cleaning solvent
- New seals and O-rings
Always isolate the engine, allow it to cool completely, and drain the cooling system before removing the water pump.
Step 1 – Remove the Water Pump
Disconnect all coolant hoses and remove the mounting bolts holding the pump to the engine.
Before removing the pump completely, mark its installation position if required. This makes reassembly much easier.
Once removed, clean the outside thoroughly. Dirt entering the pump during dismantling can damage new seals during reassembly.
Step 2 – Remove the Impeller
The impeller is one of the first major components removed.
Carefully secure the shaft while loosening the impeller retaining hardware.
Avoid striking the impeller directly with steel tools.
If corrosion has seized the impeller onto the shaft, use the correct puller instead of excessive force.
Once removed, inspect:
- Blade condition
- Corrosion
- Cavitation damage
- Cracks
- Excessive wear
Even minor cavitation can reduce pump efficiency.
Step 3 – Remove the Mechanical Seal
The mechanical seal prevents coolant from escaping around the rotating shaft.
This component should always be removed carefully because the sealing faces are extremely delicate.
Inspect both rotating and stationary seal faces for:
- Cracks
- Chips
- Heat damage
- Grooves
- Carbon wear
If either sealing face is damaged, replacing the complete seal assembly is recommended.
Step 4 – Remove Bearings
After removing the shaft assembly, the bearings can be pressed out of the housing.
Most MTU 4000 water pumps use high-quality rolling bearings designed for long service life.
Check for:
- Rough rotation
- Rust
- Excessive play
- Pitting
- Blue discoloration from overheating
Never reuse bearings that feel rough, even if they appear visually acceptable.
Step 5 – Remove the Shaft
Once the bearings are removed, the shaft can usually be withdrawn from the housing.
Inspect the shaft carefully.
Look for:
- Wear where the seals run
- Corrosion
- Bent shaft
- Scoring
- Surface damage
A damaged shaft will quickly destroy a new seal.
Step 6 – Remove O-Rings and Seals
Every O-ring should be replaced during overhaul.
Although they may look usable, rubber components harden with age and heat.
Replacing them now is inexpensive compared to dismantling the pump again after installation.
Step 7 – Inspect the Pump Housing
The housing is often overlooked.
Inspect it for:
- Corrosion
- Erosion
- Cracks
- Seal seat damage
- Worn bearing bores
If the bearing bore has become oversized, replacing the housing is usually the safest option.
Cleaning Before Reassembly
Every component should be thoroughly cleaned before inspection.
Avoid scratching sealing surfaces.
Compressed air can be used to dry passages, but always wear eye protection.
Never spin bearings using compressed air.
Parts Commonly Replaced During Overhaul
A typical overhaul may include replacing:
- Mechanical seal
- Impeller
- Shaft seals
- Bearings
- O-rings
- Gaskets
- Snap rings
- Spacer sleeves (if worn)
Replacing wear items together helps maximize service life and reduces the chance of repeat repairs.
Common Mistakes to Avoid
Many premature failures happen because of simple mistakes during assembly.
Avoid:
- Reusing old seals
- Hammering bearings into place
- Installing bearings without proper support
- Damaging seal faces during installation
- Forgetting lubrication where specified
- Mixing old and new components without inspection
- Ignoring shaft wear
Taking your time during assembly is often the difference between a pump that lasts thousands of hours and one that leaks after only a few days.
Questions & Answers
Can I replace only the mechanical seal?
Sometimes, yes. However, if the bearings or shaft show wear, replacing only the seal may lead to another failure shortly afterward. During a major overhaul, it's generally better to inspect all components and replace any worn parts together.
How long does dismantling take?
For an experienced marine engineer with the correct tools, dismantling typically takes between one and three hours, depending on the pump condition and corrosion.
Should bearings always be replaced?
Not necessarily, but if the pump is already dismantled and the bearings have many operating hours, replacement is often a cost-effective preventive measure.
What causes water pump failure?
The most common causes include:
- Normal wear
- Poor coolant quality
- Cavitation
- Corrosion
- Dry running
- Contaminated cooling systems
- Bearing fatigue
Can I reuse old O-rings?
No. O-rings are inexpensive and should always be replaced during a rebuild to reduce the risk of leaks.
Why is my new seal leaking after installation?
Common reasons include:
- Damaged shaft surface
- Dirt on seal faces
- Incorrect installation
- Bearing play
- Improper lubrication
- Misalignment
How often should an MTU 4000 water pump be inspected?
Inspection intervals depend on the engine model, operating hours, and maintenance schedule. Pumps should also be inspected immediately if there are signs of coolant leakage, overheating, unusual noise, or vibration. Always follow the maintenance intervals recommended by MTU for your specific engine.
Final Thoughts
Dismantling an MTU 4000 water pump isn't just about taking parts apart—it's about understanding how each component contributes to the engine's cooling system. Careful inspection, proper handling of seals and bearings, and replacing worn components at the right time can significantly improve reliability and help prevent unexpected downtime at sea.
If you're rebuilding a pump, work methodically, keep every part clean, and use the correct service information for your engine model. A well-overhauled water pump can provide thousands of hours of dependable service when assembled correctly.
At Alfa Marine Spare Parts, we believe that sharing practical maintenance knowledge helps marine engineers make better repair decisions. Whether you're carrying out routine servicing or a complete overhaul, understanding the dismantling process is the first step toward a reliable cooling system.